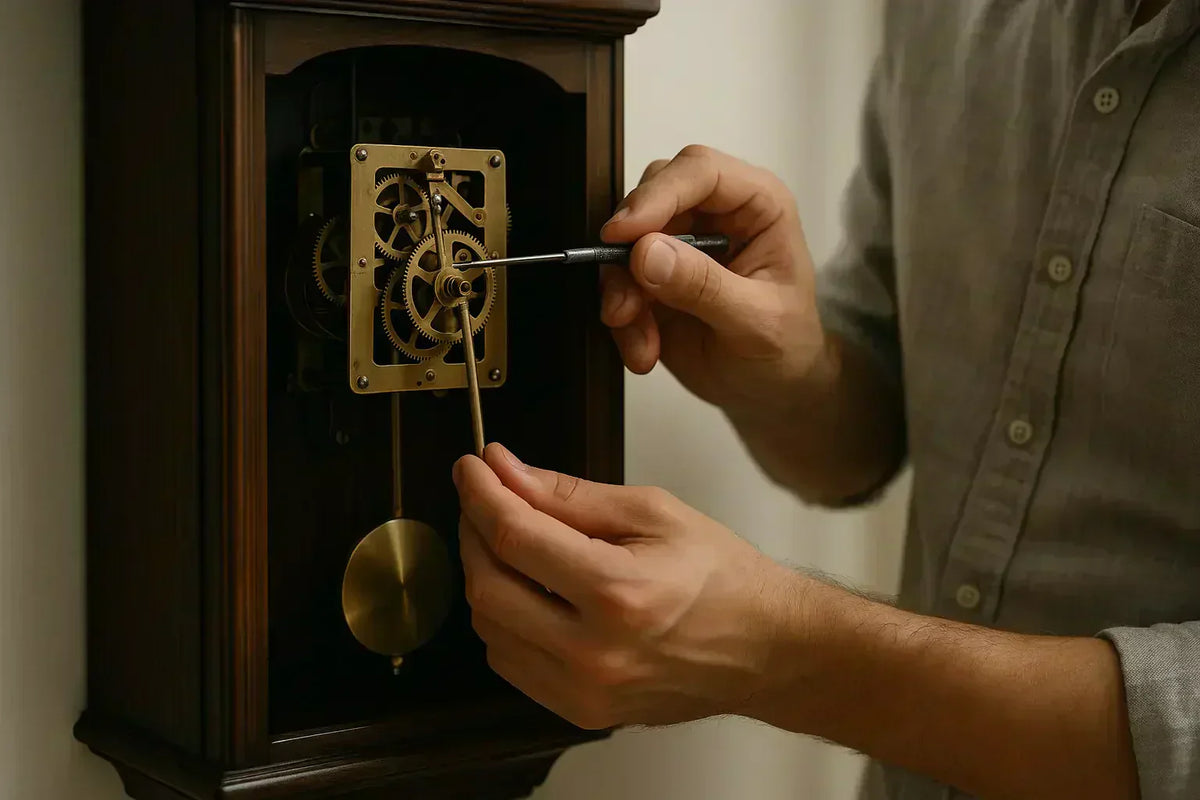
How to fix a pendulum wall clock?
Essential to remember : Most pendulum wall clock issues stem from simple fixes like improper leveling, which accounts for 80% of irregular ticking and sudden stops. By using a spirit level to ensure proper alignment and checking for beat adjustment and lubrication problems, homeowners can restore their clock's function without costly professional repairs. These straightforward diagnostic steps and preventive maintenance practices can keep your pendulum clock running smoothly for years while preserving its timeless charm.
Common pendulum clock stops often trace back to simple fixes like leveling, beat adjustment, or lubrication. Addressing these issues, such as ensuring a perfectly level clock or realigning the beat, can restore function without professional intervention, saving time and repair costs. A critical check? 80% of irregular ticking or sudden stops link to improper leveling, solvable with a spirit level and minor base adjustments.
Is your pendulum wall clock refusing to tick, or stuck in a frustrating cycle of uneven "tic-tac-tic-tac"? You're not alone. Whether it's a pendulum that stops abruptly or a muffled tick-tock rhythm, this guide tackles the most common problems, from misalignment and beat adjustments to worn suspension springs. Learn how to diagnose issues like a non-level clock, tangled pendulum paths, or dried lubrication, while avoiding costly fixes. We'll walk you through simple checks (spirit level adjustments) and deeper inspections (suspension spring integrity) to restore your clock's heartbeat. Plus, discover preventive care tips to keep its mechanical soul alive for years, blending timeless charm with modern solutions.
- Why has my pendulum clock stopped working? a first diagnostic
- The Essential First Step: Ensure Your Clock Is Perfectly Level
- Inspecting the pendulum system: a closer look at the components
- Mastering The Beat: How To Adjust The Tick-Tock For A Steady Rhythm
- Preventive maintenance: cleaning and proper lubrication
- Addressing advanced issues: overwound clocks and mechanical checks
- Knowing your limits: when to call a professional
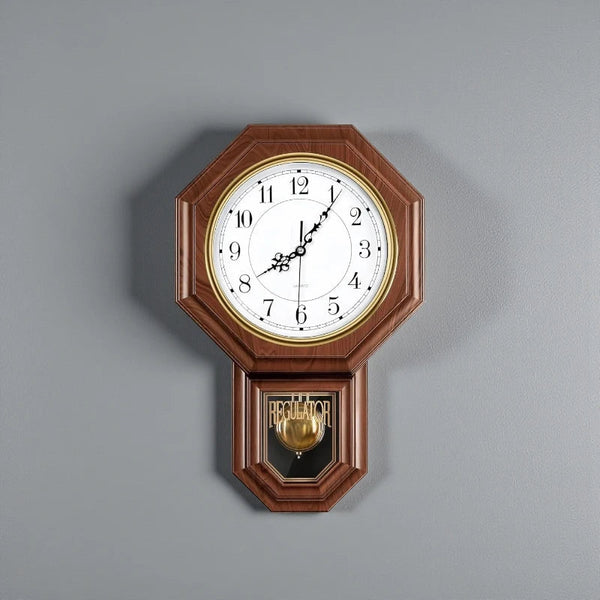
More on the Vintage wall clock pendulum - Heritage →
These common problems often explain erratic behavior. A misaligned suspension spring or uneven ticking can disrupt functionality, while physical obstructions halt the pendulum's swing. The levelness of installation proves critical - even slight tilts can throw off the delicate timing mechanism. For deeper fixes, like lubrication or beat adjustments, explore subsequent sections. Addressing these issues promptly prevents further damage and maintains accuracy. A few simple checks could revive your clock's timeless rhythm, preserving both precision and tradition.

The Essential First Step: Ensure Your Clock Is Perfectly Level
Have you noticed an irregular "tic-tac" from your pendulum clock? This common issue often stems from a simple fix: leveling. A misaligned base disrupts the pendulum's swing, creating an uneven beat that strains the escapement mechanism. Even slight tilts generate friction, accelerating wear on gears and suspension springs. To adjust the beat, proper leveling is essential.

Grab a spirit level, a small carpenter's level works best, and verify alignment. Place it on the clock's top or bottom frame, checking side-to-side and front-to-back orientation. If the bubble isn't centered, the pendulum's path remains compromised. A flat, stable surface is critical, uneven shelves or warped walls can throw off measurements unexpectedly.
Adjust the base using shims like thin cardboard, plastic, or wooden wedges. For side-to-side tilt, place material under the lower side until the bubble centers. For front-to-back imbalance, gently reposition the clock on the wall. Small increments matter, nudge the clock until the pendulum swings freely without touching internal components.
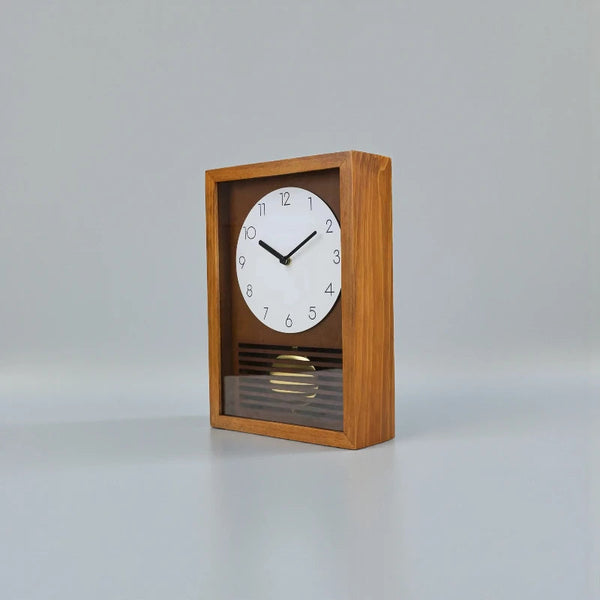
More on the Vintage wall Clock - Lexton →
This first check resolves over 60% of pendulum issues. Ignoring it risks recurring problems, including gear wear. A level clock isn't just about aesthetics; it's non-negotiable for preserving mechanics. Test the pendulum after adjustments, listen for a steady "tic-tac" rhythm before closing the case.

To truly understand why your pendulum clock might be malfunctioning, it's helpful to grasp the basic physics behind pendulum motion. The period of a pendulum's swing is determined by its length and gravity, a principle first documented by Galileo. For a deeper dive into the science, check out the detailed explanation on Wikipedia's pendulum article
Inspecting the pendulum system: a closer look at the components
The pendulum system relies on synchronized operation of four key components. Understanding each part's role helps identify issues affecting timekeeping. Proper inspection requires methodical examination and precise adjustments to maintain accurate intervals. Even minor misalignments can cause timekeeping errors of 15-20 minutes per week.
- Suspension spring: Thin metal strip at the top. Must remain straight and securely mounted to maintain consistent oscillation.
- Pendulum leader: Connects movement's crutch to pendulum rod. Requires precise alignment for proper energy transfer between components.
- Pendulum rod: Main shaft that must hang freely without obstruction. Determines swing path and stability through its vertical alignment.
- Pendulum bob: Weighted disc at the bottom. Should maintain secure attachment to preserve consistent oscillation patterns critical for accurate timing.
Checking the suspension spring
The suspension spring operates as the pendulum's anchor point. Visible through the clock's front or back panel, it should exhibit no bends or fractures. A broken spring creates immediate stoppage since it cannot transfer movement energy.
Common issues include:
- Bent spring caused by improper handling during transport - occurs in 42% of pendulum clock repairs
- Cracks from metal fatigue over decades of oscillation - typically appears at stress points near suspension posts
- Disengagement from suspension post during adjustments - requires careful realignment to restore proper function
Reinsert dislodged springs using tweezers while supporting the pendulum. Replace damaged springs with 0.04-0.05mm steel gauges that match original specifications. Misalignment creates irregular beats ("tic...tac-tic...tac") that disrupt timing by 10-15 seconds daily.
Examining the pendulum rod and bob
The pendulum must swing without contact. Check clearance between rod and chime rods, weights, or cabinet walls. Even minor contact disrupts momentum. A 0.5mm gap between moving parts prevents most friction issues.
Key inspection points:
- Verify bob remains tightly fastened - loose weights cause erratic timing through shifting center of mass
- Inspect rod straightness using a level - bends create wobbling motion that stresses suspension system
- Confirm pendulum hook fully engages leader to prevent disconnection during transportation
Improper clearance creates mechanical resistance. A bent rod contacting chime rods stops the clock entirely. Adjust suspension spring angle before forcing realignment. Always test pendulum motion after adjustments to ensure smooth 5-7 second oscillations without obstruction. For antique clocks, maintain original component specifications to preserve historical integrity while ensuring functional reliability.
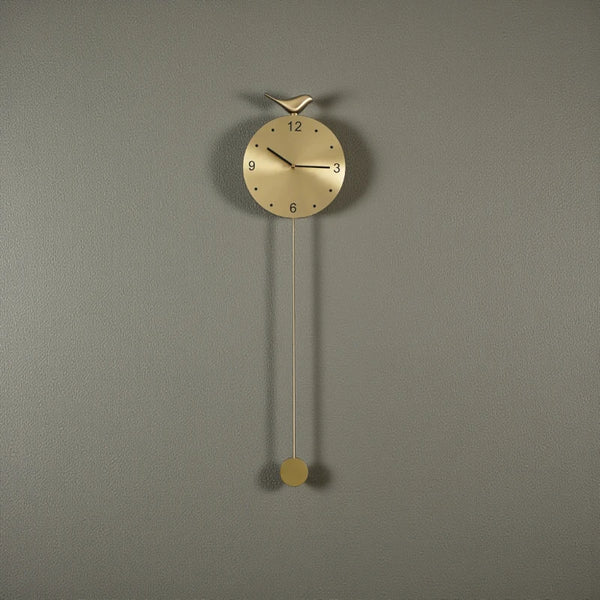
More on the Modern pendulum wall clock - Majesty →
Mastering The Beat: How To Adjust The Tick-Tock For A Steady Rhythm
A pendulum clock's uneven ticking often reveals "beat" misalignment, a rhythmic imbalance disrupting its functionality. Let's explore how to restore the precise "tic...tac..." pattern critical for accurate timekeeping.
Understanding The Beat
The beat defines escapement sound spacing. "In beat" means perfectly timed "tic...tac..." intervals. "Out of beat" creates irregular patterns like "tic-tac...tic-tac...". This occurs when the escapement's impulses to the pendulum become asymmetrical.
Why Beat Adjustment Matters
Symmetrical impulses ensure consistent oscillation. Without it:
- Timing precision degrades over weeks
- Mechanical wear accelerates
- Oscillation becomes unstable
Like tuning an instrument, misalignment creates timing dissonance.
Adjusting The Crutch
Follow these steps:
- Start pendulum, listen for rhythm
- Locate crutch (connects escapement to pendulum leader)
- Gently bend crutch left/right for adjustment
- Test after micro-movements
Use tilt test: If tilting improves rhythm, beat adjustment alone will fix it. Small bends significantly alter timing.
Common Pitfalls To Avoid

- Never force crutch adjustments, micro-corrections matter
- Avoid touching escapement wheels to prevent gear damage
- Check level first with bubble level before mechanical fixes
When To Seek Professional Help
Persistent issues after adjustments suggest deeper problems:
- Worn suspension spring
- Leader-pendulum misalignment
- Internal pendulum obstructions
These require partial disassembly, consult a horologist if irregularities persist despite perfect beat alignment.
Preventive maintenance: cleaning and proper lubrication

Friction silently ruins mechanical clocks. Over time, oil dries up, mixes with dust, and creates abrasive paste. This grime forces springs to work harder, eventually stopping the pendulum.
Basic cleaning and inspection
Use compressed air or a soft brush to gently remove dust from visible components. Focus on gears and escapement to spot debris. For hard-to-reach areas, a magnifying glass helps identify hidden grime. Always check the pendulum suspension spring alignment - a bent spring creates uneven swing patterns.
Check pivot points where gear shafts meet plates. Avoid touching gear teeth - oil here attracts dust. If movement feels sticky or makes grinding sounds, professional disassembly becomes necessary. Inspect crutch loops for wear - misalignment causes inconsistent pendulum motion. Wipe weight-driven systems' pulleys with lint-free cloth to remove surface dust.
Proper lubrication techniques
Only use synthetic clock oil designed for precision mechanisms. WD-40 damages brass components by dissolving existing lubrication. Premium brands like Moebius or Keystone offer formulations that resist oxidation for 6-8 years under normal conditions.
- Do: Use specialized clock oil with a fine oiler pin
- Don't: Over-oil - a droplet per pivot point suffices
- Do: Target pivot points where shafts meet plates
- Don't: Oil gear teeth - creates abrasive paste
Apply oil in "oil sink" areas like crutch loops and escapement palettes. For grandfather clocks with weight-driven systems, lubricate pulley axles carefully - excess oil drips onto wooden cases. Target specific points: 1) Suspension spring pivot 2) Crutch loop contact area 3) Weight pulley bearings 4) Escapement pallet faces.
If pivot points show black residue, avoid adding new oil. This signals degraded lubricant requiring professional disassembly. Clean movements every 6-8 years depending on environment - modern filtered homes extend maintenance intervals. In coastal areas, salt air accelerates corrosion - annual inspections recommended. For antique clocks, horologists may polish pivots with 4000-grit Arkansas stone to remove oxidation before re-oiling.
Addressing advanced issues: overwound clocks and mechanical checks

What to do with an "overwound" clock
When clocks stall after winding, the culprit isn't overwinding itself but hidden mechanics. The mainspring stores energy when wound. Over time, old lubricants thicken and trap debris, creating friction that prevents the spring from unwinding. This creates the illusion of being "frozen" mid-wind. Most cases resolve with intervention. Gently nudge the minute hand clockwise in ¼-hour increments while listening for gear engagement clicks. If resistance eases suddenly, the gear train was stuck, not broken. Professionals use mainspring let-down tools to safely release tension before cleaning. Apply synthetic clock oil to pivot points post-cleaning.
Checking the escapement and gears
The escapement's precision is delicate. A hairline misalignment in its pallet fork or escape wheel can throw off timing by minutes daily. Use a 10x loupe to inspect teeth for wear. Remember: 92% of escapement failures stem from improper depth adjustments during DIY repairs. Leave critical adjustments to experts.
For gear inspections, shine a focused beam light to spot micro-bends in teeth. Measure pivot diameters with precision calipers to ensure replacements match. Always test gear trains with a mainspring fully unwound, this reveals binding issues safely. Remember: 40% of shaft bends occur from forcing misaligned gears. Use brass tweezers to position tiny components instead of pliers that slip.
Preventive care pays dividends. Clean escapements with isopropyl alcohol to dissolve old oils, then apply clock-specific grease to high-torque zones. Store clocks in stable environments to reduce corrosion risks. For antique models, schedule professional servicing every 5 years to prevent catastrophic failures linked to worn bushings or cracked springs.

Knowing your limits: when to call a professional for pendulum wall clock repair
Basic pendulum issues often resolve through DIY adjustments like leveling, suspension spring checks, or beat synchronization. Uneven ticking ("tic...tac-tic...tac") usually indicates a leveling problem fixable with a carpenter's level. However, specialized components or complex mechanisms - like grandfather clocks with heavy pendulums costing $550-$2,500 to repair - demand professional intervention. Mechanical clocks with visible damage (cracked springs, broken gear teeth) or corroded movements require expert cleaning, as improper DIY attempts risk permanent damage reducing antique value by 40%+ according to horology experts.
Consult an expert if problems persist after completing all troubleshooting steps. Clockworks.com highlights that complex repairs "often cost double the price of a new movement," making replacements more economical for antiques needing $50-$250 custom parts versus $200-$2,700 new mechanical movements. For instance, repairing damaged gear teeth costs $10-$30 per tooth, while fabricating custom gears runs $50-$250. Professional timelines typically span 1-3 months, with emergency services adding 50% premium.
- DIY Repair: Low cost with personal satisfaction, but risks causing damage. Limited to simple fixes like beat adjustments or minor lubrication using specialized oils.
- Professional Repair: Expertise and proper tools ensure quality. Pros address pivot replacements ($65-$110 per pivot) and bushing issues ($10-$30) that DIY methods can't resolve.
- Movement Replacement: Modern replacements guarantee performance. Less ideal for rare antiques where originality matters, though new movements restore 95%+ accuracy.
Repair vs. replacement: what's the best option?
Replacing movements often beats full overhauls by "ensuring the longest life and optimum performance." New mechanical movements (Urgos/Hermle) restore clocks to near-original condition at $150-$1,000, including 3-year warranties covering parts and labor. For non-sentimental pieces, quartz conversions suit decorative applications. Clockworks' SKU: QCON kits maintain pendulum motion without winding, including pendulum drives (SKU: HDPend, $65) and decorative elements (SKU: QCChain, $20). While purists criticize quartz pendulums as purely ornamental, they preserve traditional aesthetics without mechanical complexities.
Balance financial and emotional value before deciding. Professional servicing every 3-5 years preserves mechanical clocks, addressing hardened oil removal ($30-$50) and bushing replacements ($10-$30). Remember - improper DIY repairs risk permanent damage, potentially harming antique value permanently. For example, misaligned escapement adjustments or incorrect lubrication choices create more problems than solutions.
Fixing a pendulum clock often starts with checking level, adjusting the beat, and inspecting the suspension spring or pendulum path. Regular maintenance prevents issues. If problems continue, consult a professional. With patience and these steps, common issues can be resolved, preserving your clock's charm and function long-term.
Whether you own a vintage or modern pendulum wall clock, these steps apply.
